
Tuya configuration steps
In order to configure your Tuya and Firebase projects so the Copilot.cx deployment can access the data, please follow these steps:
Step 1
Configuring the Tuya cloud
Follow Tuya's Cloud Quick Start Guide to activate the cloud connection.
‼️ If you are creating more than one Copilot.cx system under the same Tuya IoT Space, you must create separate Tuya cloud projects for each one to avoid data leaks.
Make sure to do complete the following items while you activate the cloud:
- During "Step 2: Configuration wizard" select All API Products and All Data Centers.
- After completing the "Step 2: Configuration wizard", send us the Access ID and Secret in a secure way.
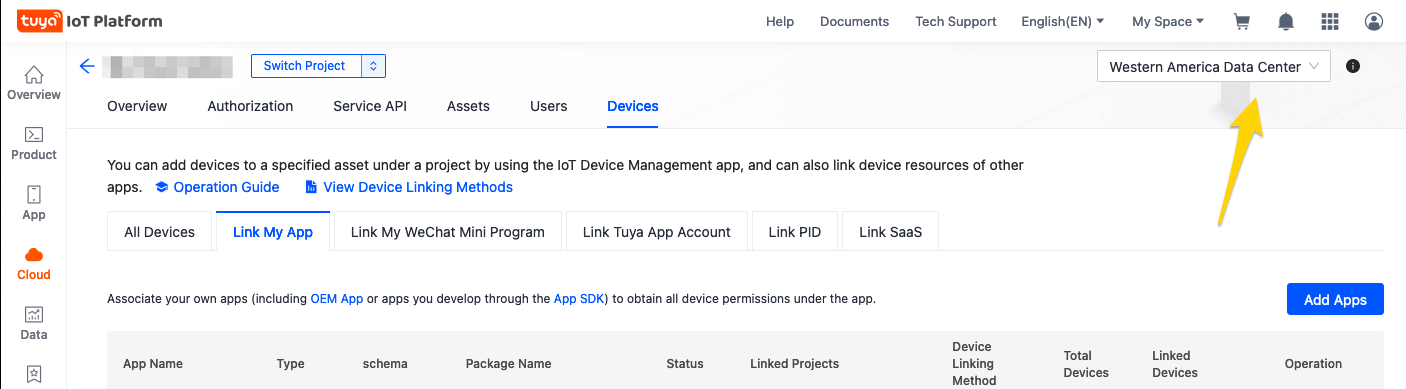
- During "Step 3: Link devices", Make sure to connect the correct device (Under "Smart home projects"), either via QR Code or via "Link devices by Apps" and choosing "Automatic link".
- While enabling Message Service make sure to add all Data Centers, and "No Alerts" since Copilot.cx will be managing the alerts.
If you have any issues activating your cloud subscription, please complete Step 2, then contact your Tuya Account Manager and CC your Copilot.cx Customer Success Manager to help with the case.
Connect all Data Centers
If your app works with multiple data centers, make sure to Link your app Devices (Point #3 above) in each data center individually.
Step 2
Adding the Copilot.cx user to the Tuya console
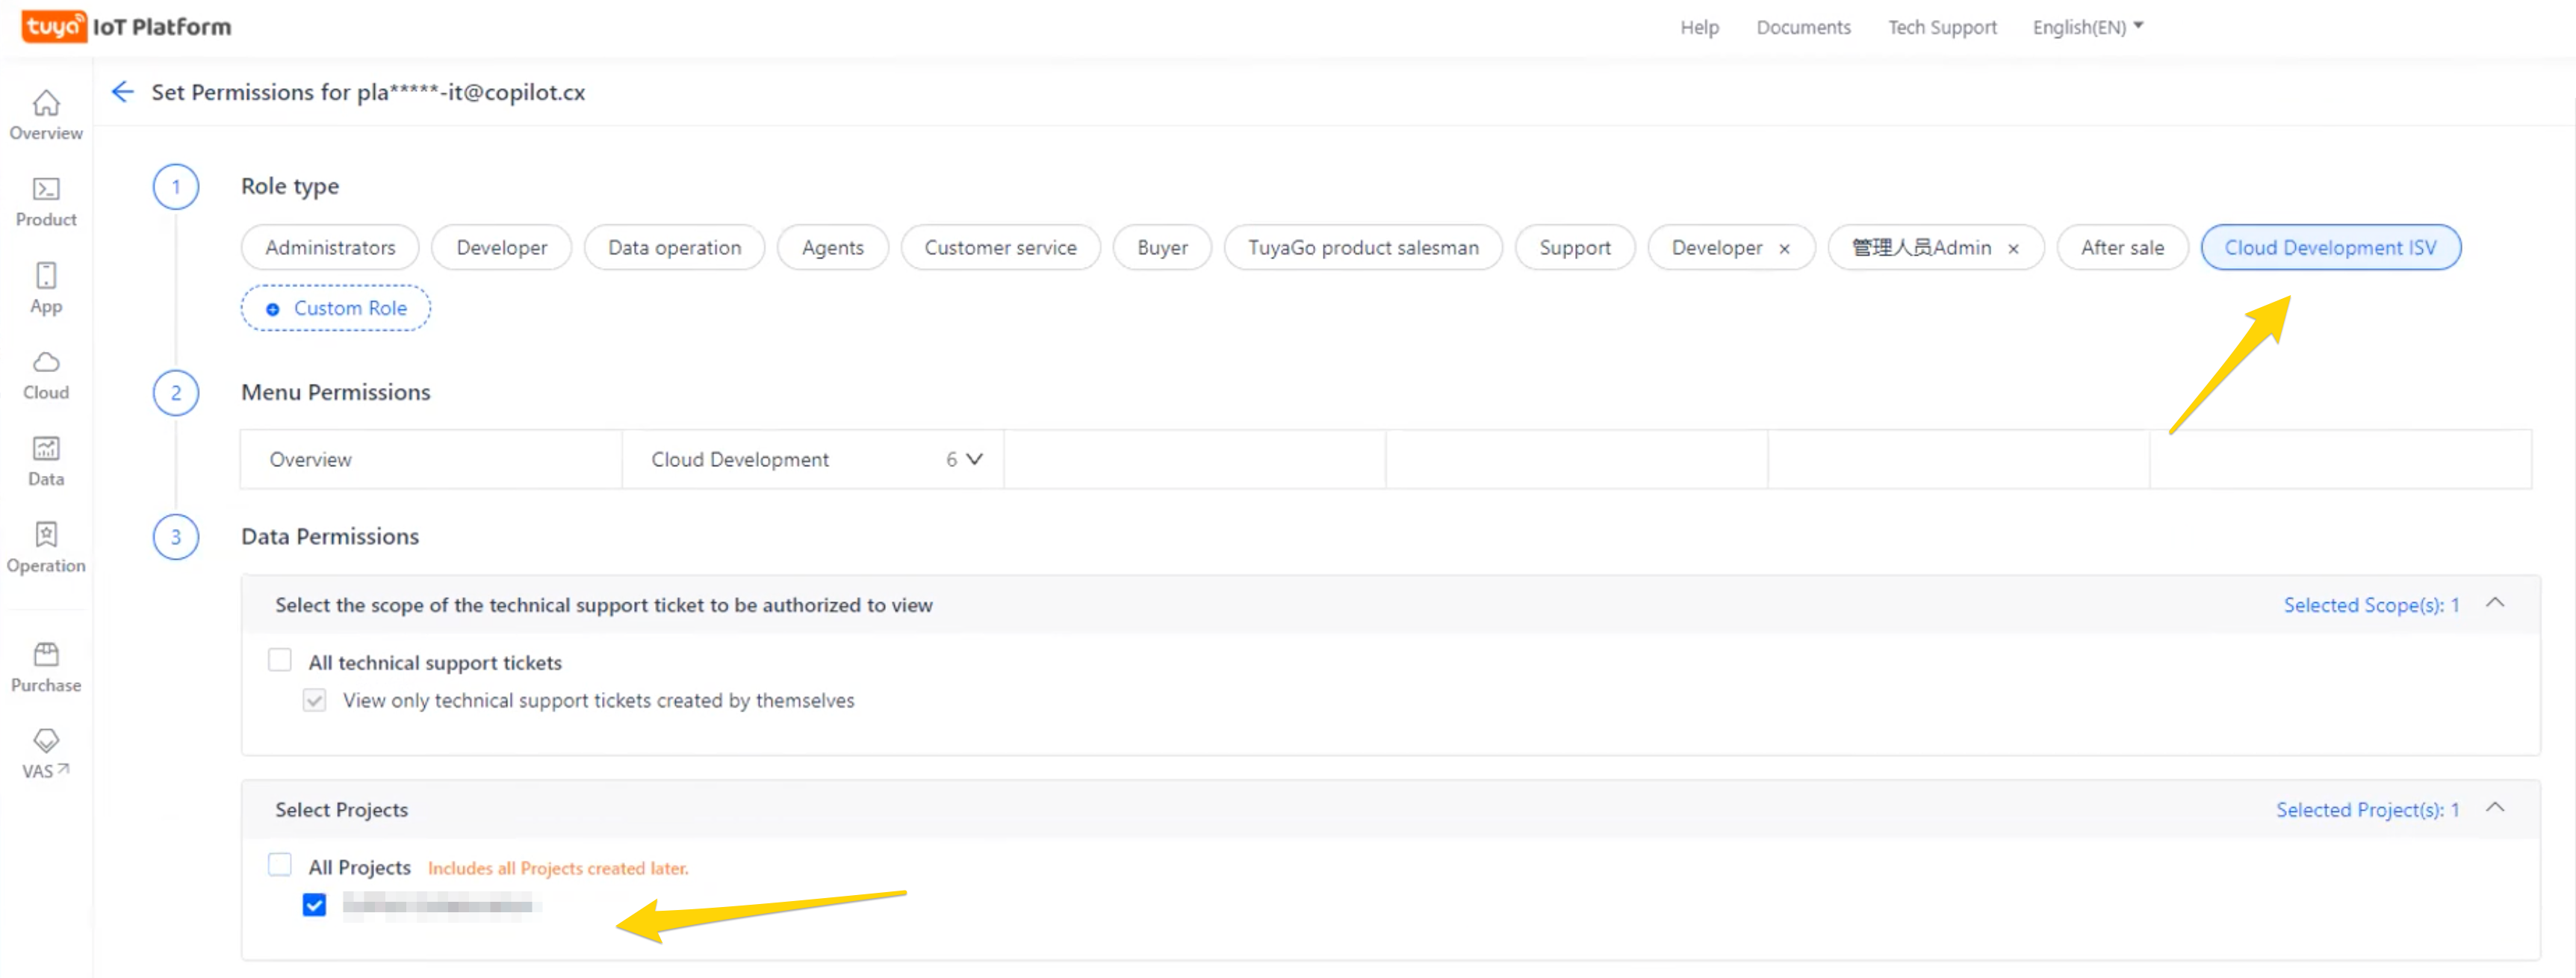
Go to "My Space" -> "Authorization" And add platform-it@copilot.cx in a "Cloud Development ISV" role including access to the newly created project.

Step 3
Adding Tuya Analytics user
Go to the Firebase project you have configured for the Tuya platform
Tuya uses Firebase in order to send your Android users Push Notifications. If you have any issues finding the correct Firebase project, please contact your Tuya Account Manager and CC your Copilot.cx Customer Success Manager to help in the case.
Go to “Users and permissions”, and add this user with Viewer roles:

Step 4
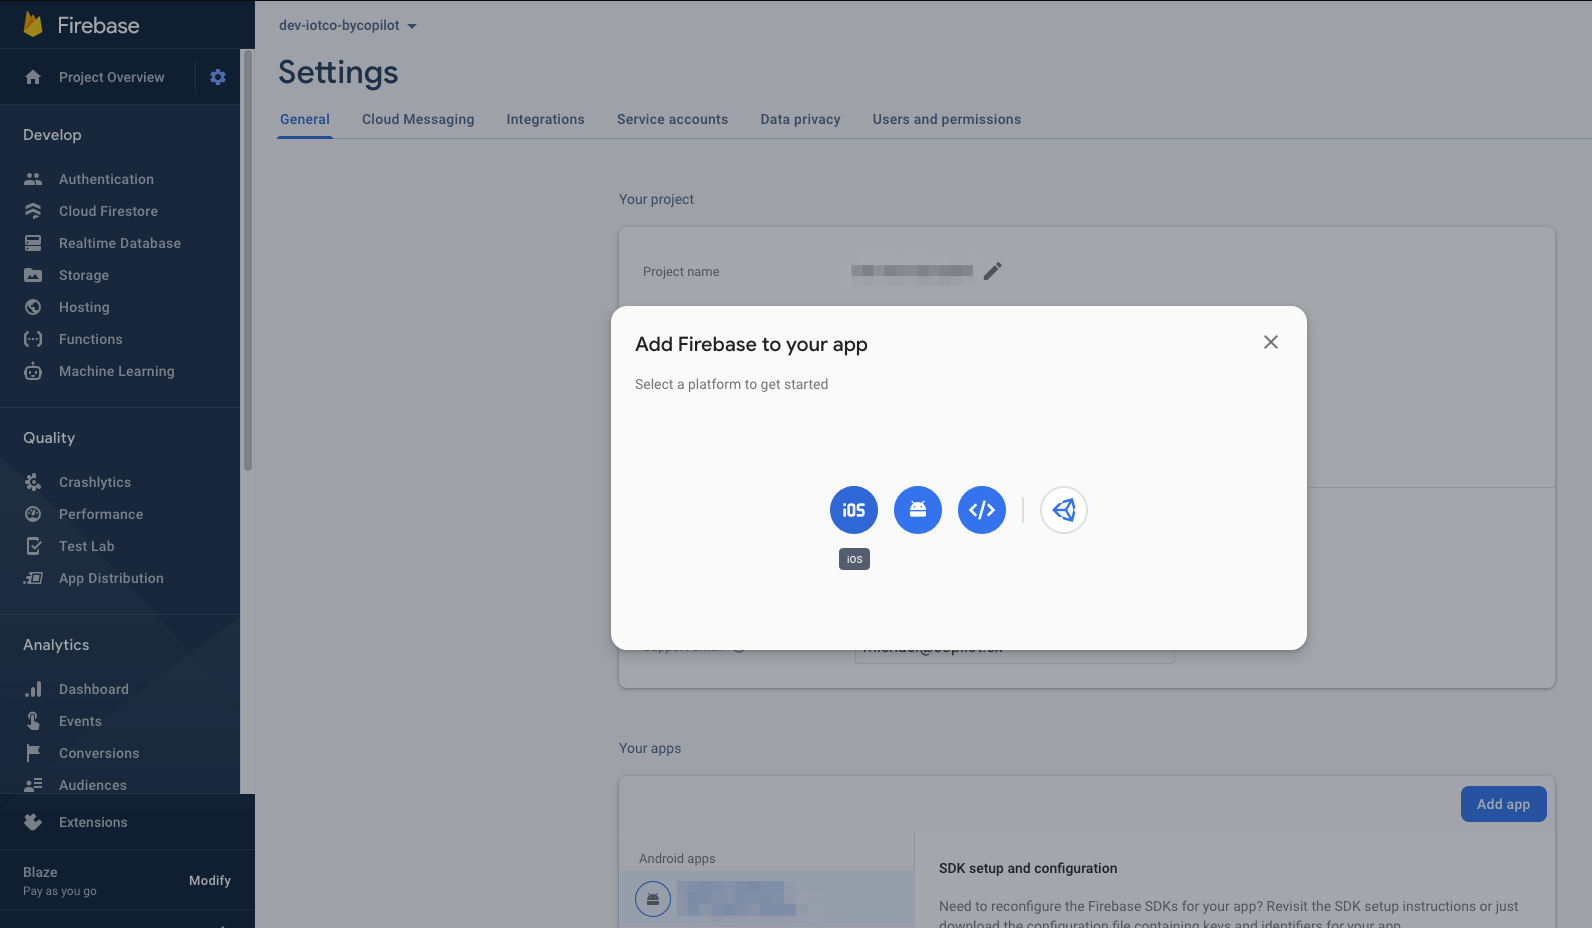
Add an iOS app to Firebase
Normally, you should only have an Android application created for Tuya's push services.
Under “General”, scroll to “Your apps”, and add a new iOS app
- The Bundle ID is the same Bundle ID you see in your Tuya IoT Console under App -> Certification
- You can find your App Store ID in your app's URL. For example, 123456789 would be the App Store ID, if your link looks like this: https://itunes.apple.com/us/app/yourapp/id123456789
Step 5
Connect Copilot.cx to Firebase
Follow the Firebase Configuration steps in order to connect your Firebase project to Copilot.
You're all done
If you're running into trouble, please contact your Customer Success Manager with any questions.